Appendix A: Software Installation Guide
Videos
If you don’t enjoy reading, here is a YouTube playlist of helpful installation videos.
Windows Installation
Important: Before proceeding with this document, make sure that you have run Windows Update within your Windows 10 or 11 environment. You must have the latest updates installed.
Step 1: Install VS Code
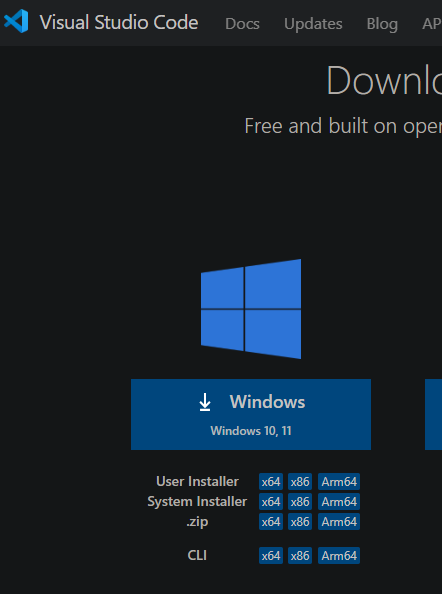
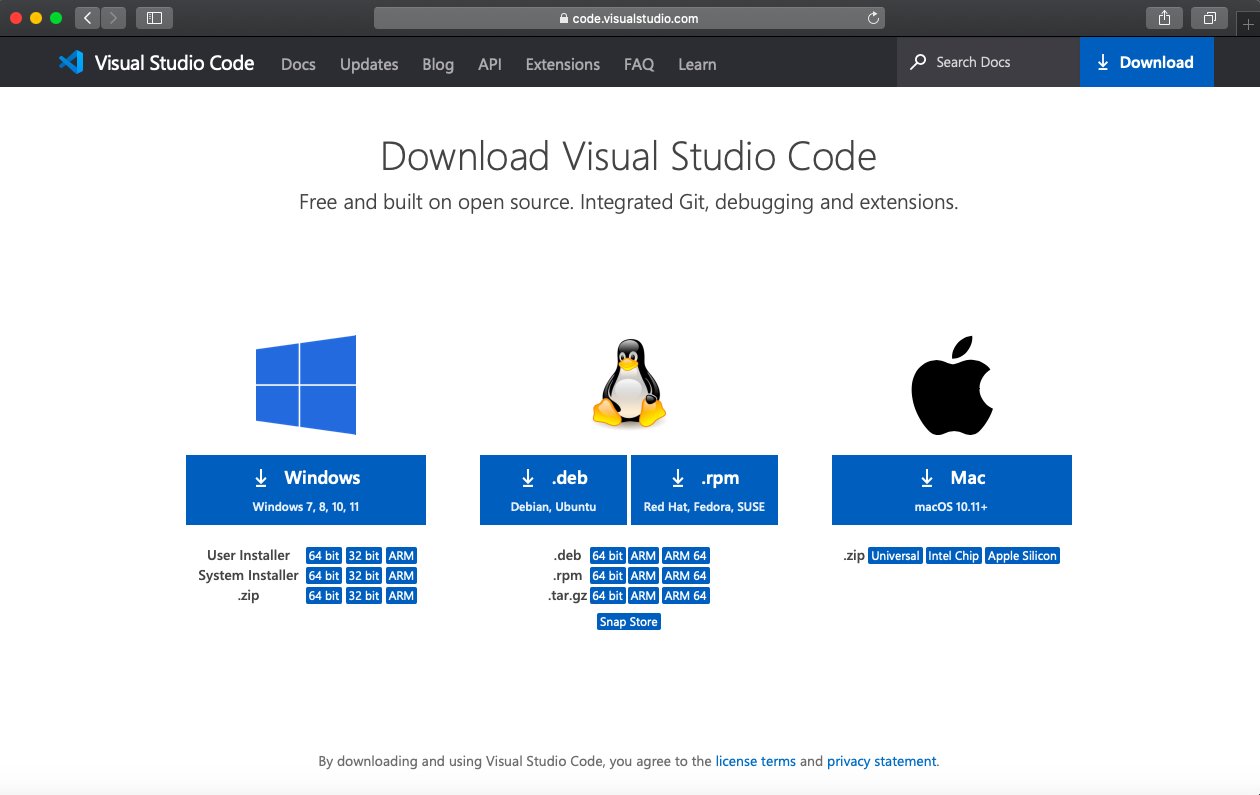
- Go to the VS code download page, and download for Windows.
- Run the installer and accept all of the default settings.
- Click on Install and wait for Visual Studio Code to finish installing, then close the installer.
Step 2: Installing MinGW
This section is based on this guide from Microsoft
MinGW is a Windows C/C++ compiler tool set that will allow us to compile our C/C++ code into a .exe file.
- First install MinGW
- Open the installer and choose the Defaults for all settings.
- At the end of the installation run msys2 and then run the following command:
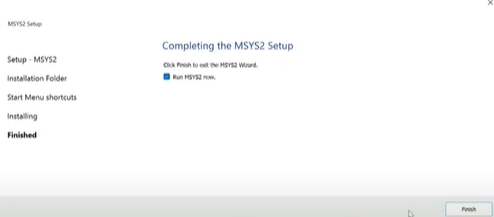
- (Shift + Insert is the paste shortcut in MSYS2’s terminal)
pacman -S --needed base-develmingw-w64-x86_64-toolchain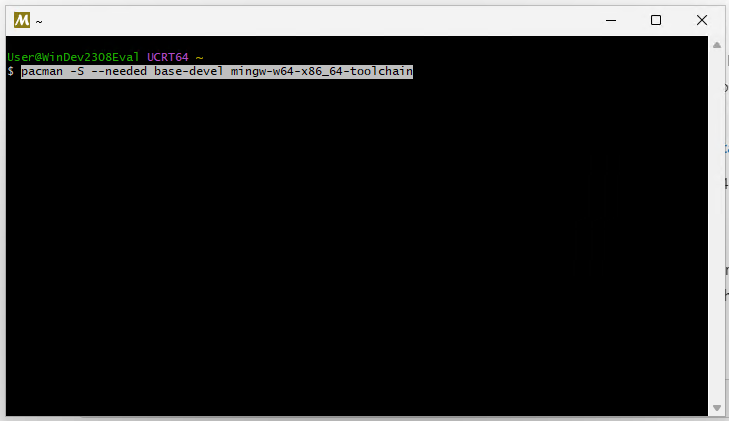
- Press enter when prompted to install all of the default packages, then press Y to confirm the install. This will take 1 to 5 minutes to finish. Once the install completes you can close msys2.
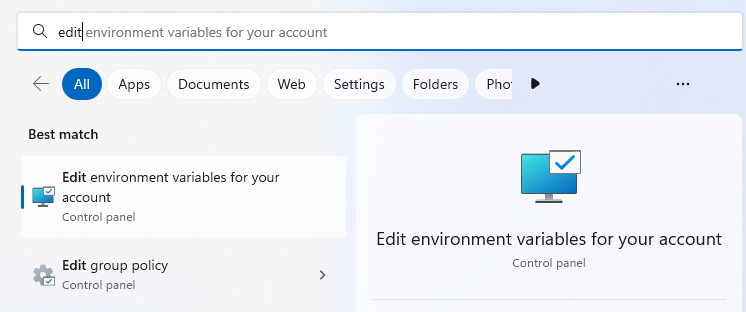
- Now we need to add msys2 to window’s PATH variable. Press the Windows key and begin typing “Edit environment variables for your account” until you see this option.
- Now Select the “PATH” variable and click edit, in the window that opens click “New” and enter the following path for the default installation location of Msys2.
C:\msys64\mingw64\bin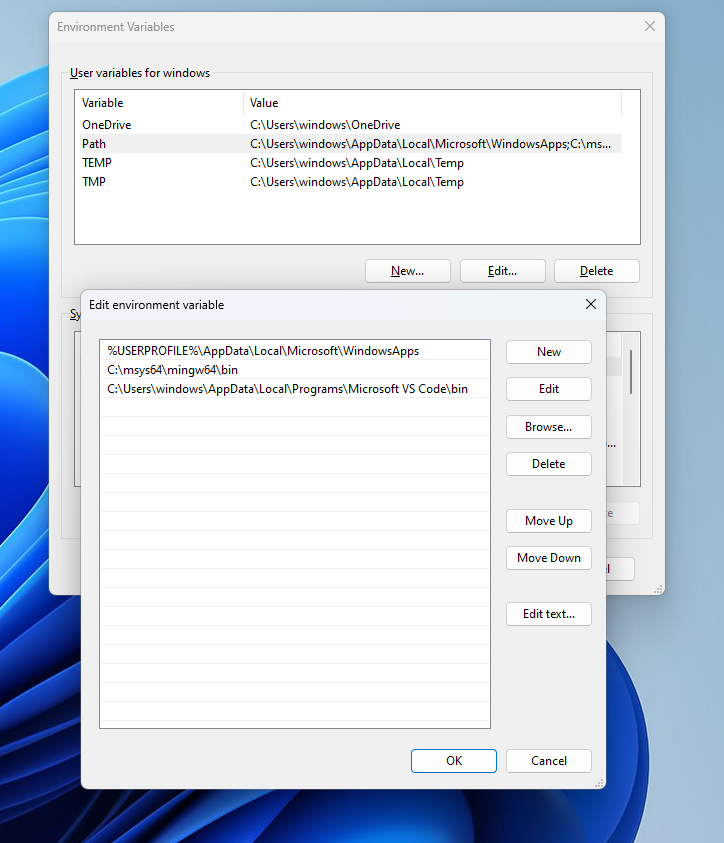
Step 3: Adding VS code extensions
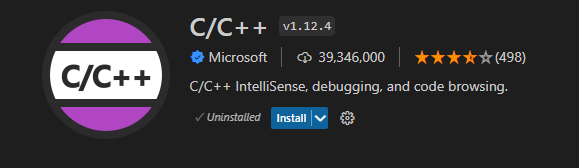
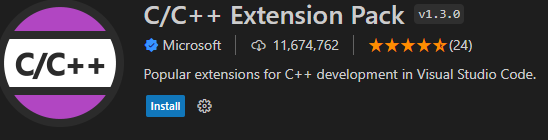
- After you Reboot open VScode and select the extensions tab. (5th from the top), and search for “C++”. We need to install the “C/C++” and “C/C++ Extension Pack” both from Microsoft.
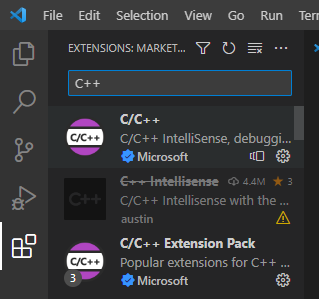
- Select the extension then click on install, these will provide Syntax Highlighting and other useful tools when working in C++
Step 4: Check your work Hello World
Get the hello world program working. If you are reading this for recitation 1, you will need to follow directions from your TA to submit your work as proof that VSCode is working on your personal computer.
Mac Installation
Step 1: Installing VS Code
- Go to VS code download page , and download for Mac.
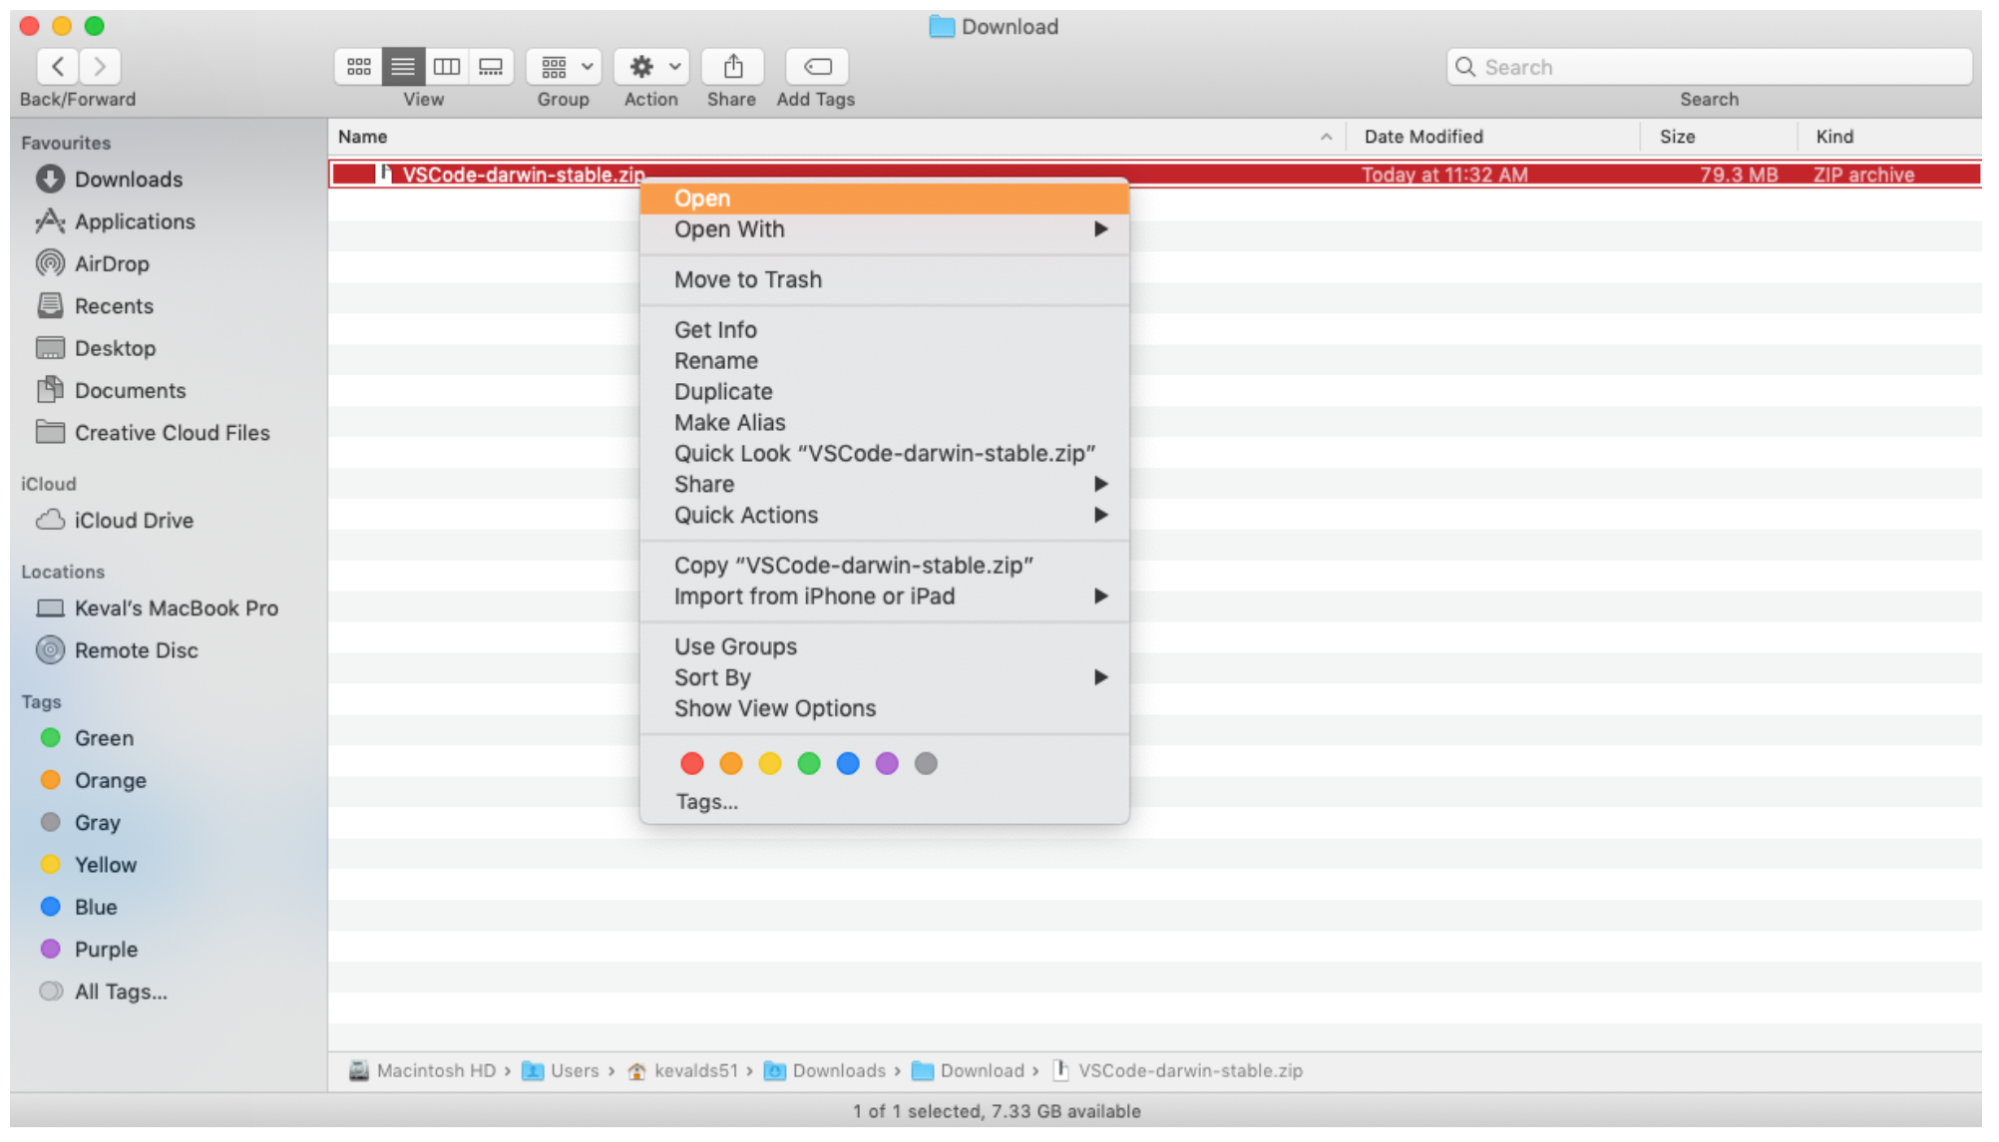
- After the download has finished, unzip the folder by double-clicking on it.
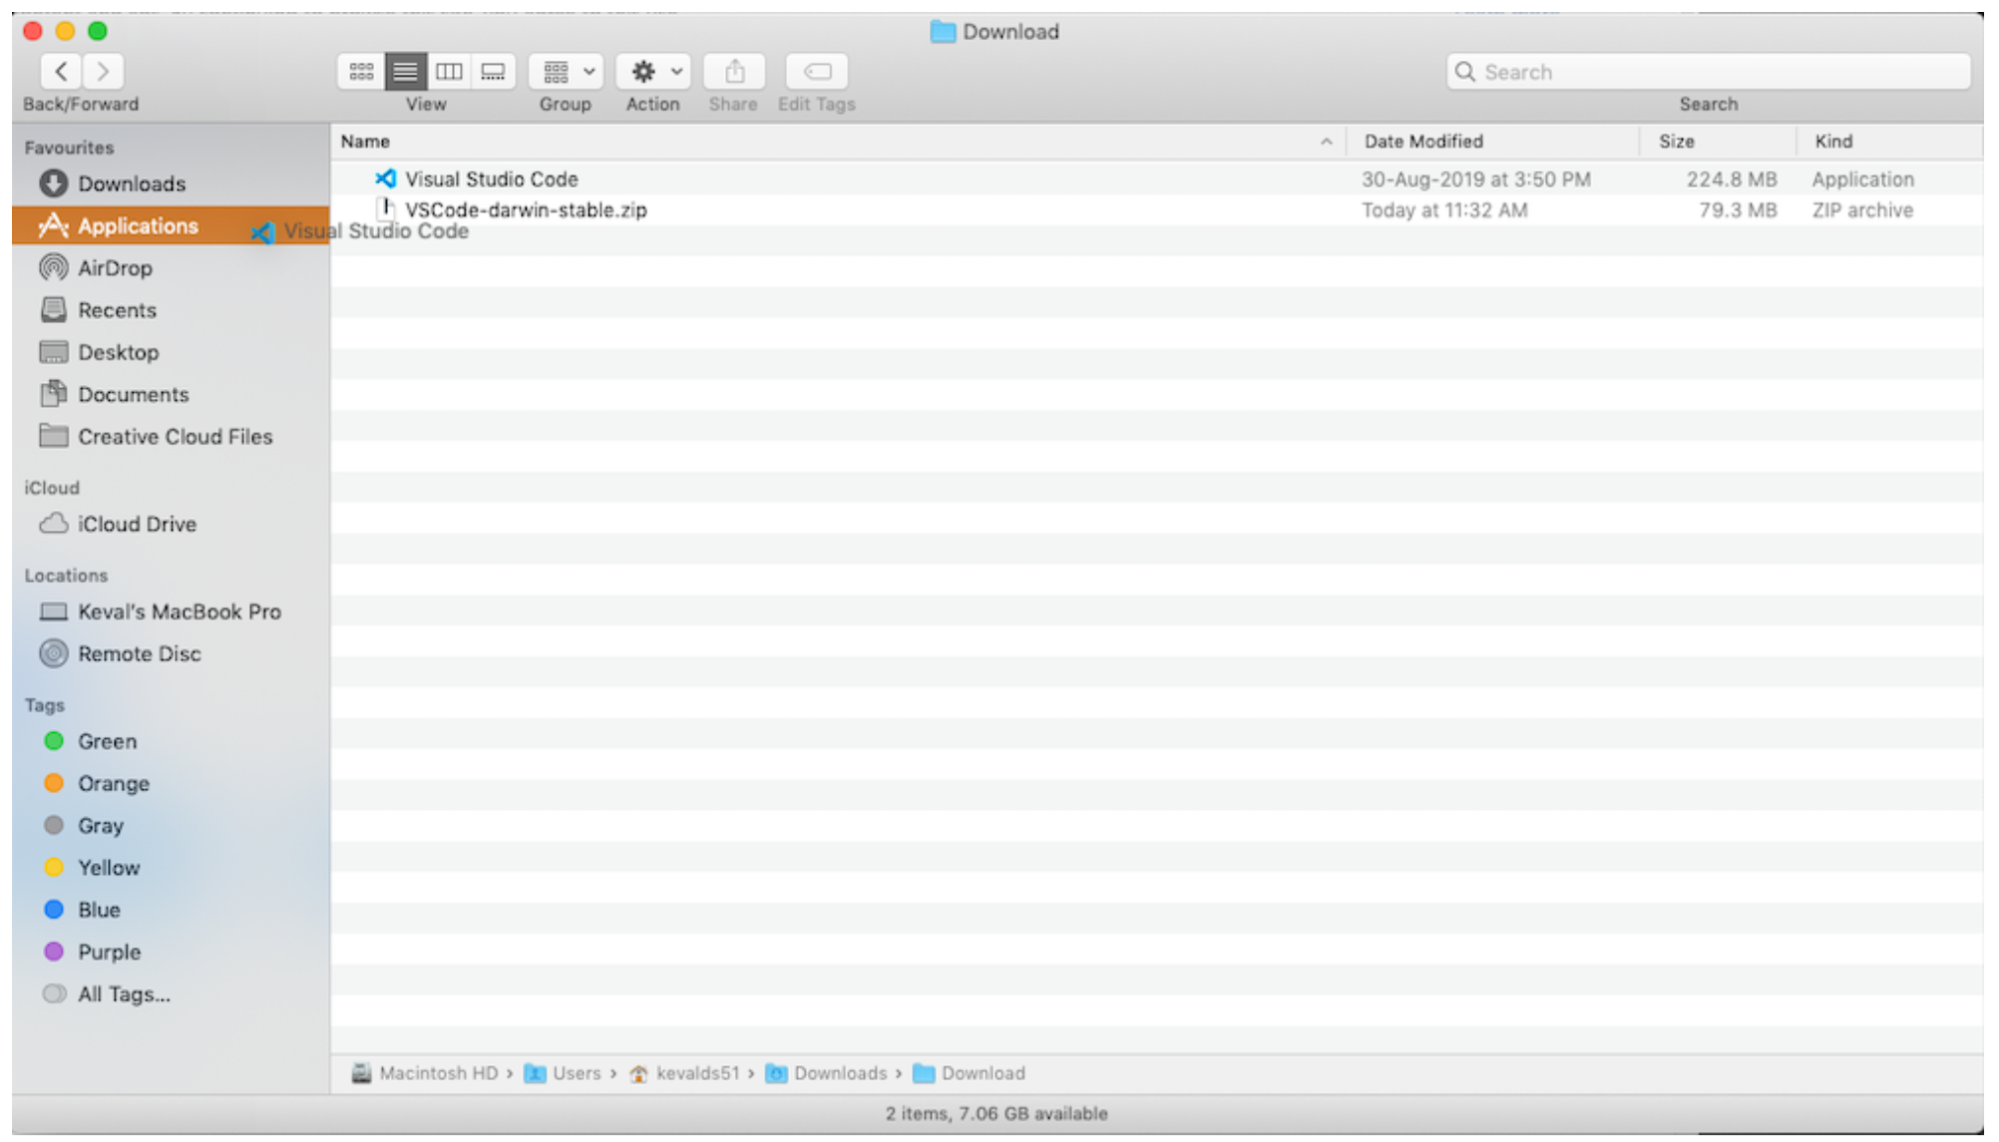
- Now you can see the “Visual Studio Code” application. Drag and drop this icon to the “Applications” folder of your computer.
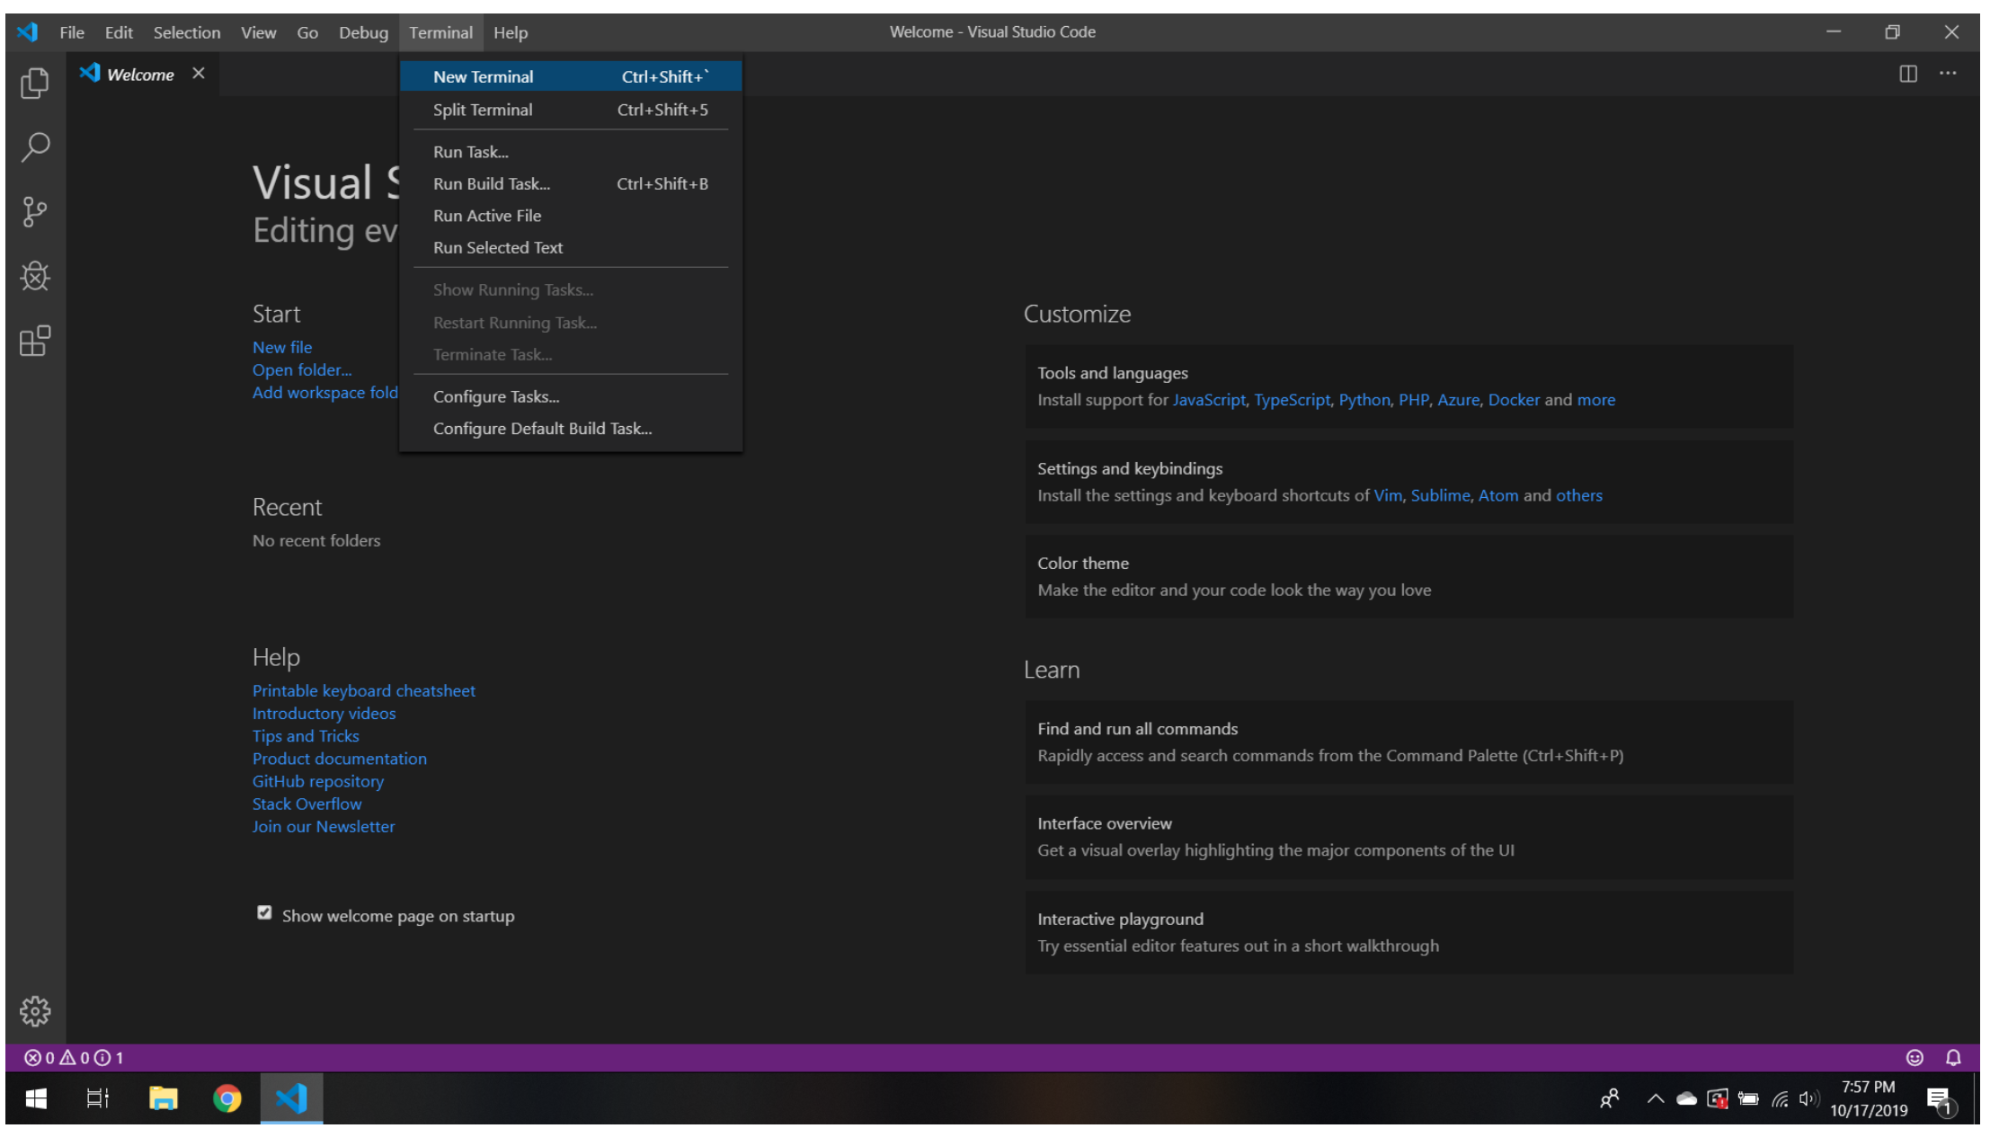
- Double click on the ”Visual Studio Code” icon to launch the application. (You might need to right click and select “open” if you cannot launch the program). Next, select the ”New Terminal” option to open the terminal window.
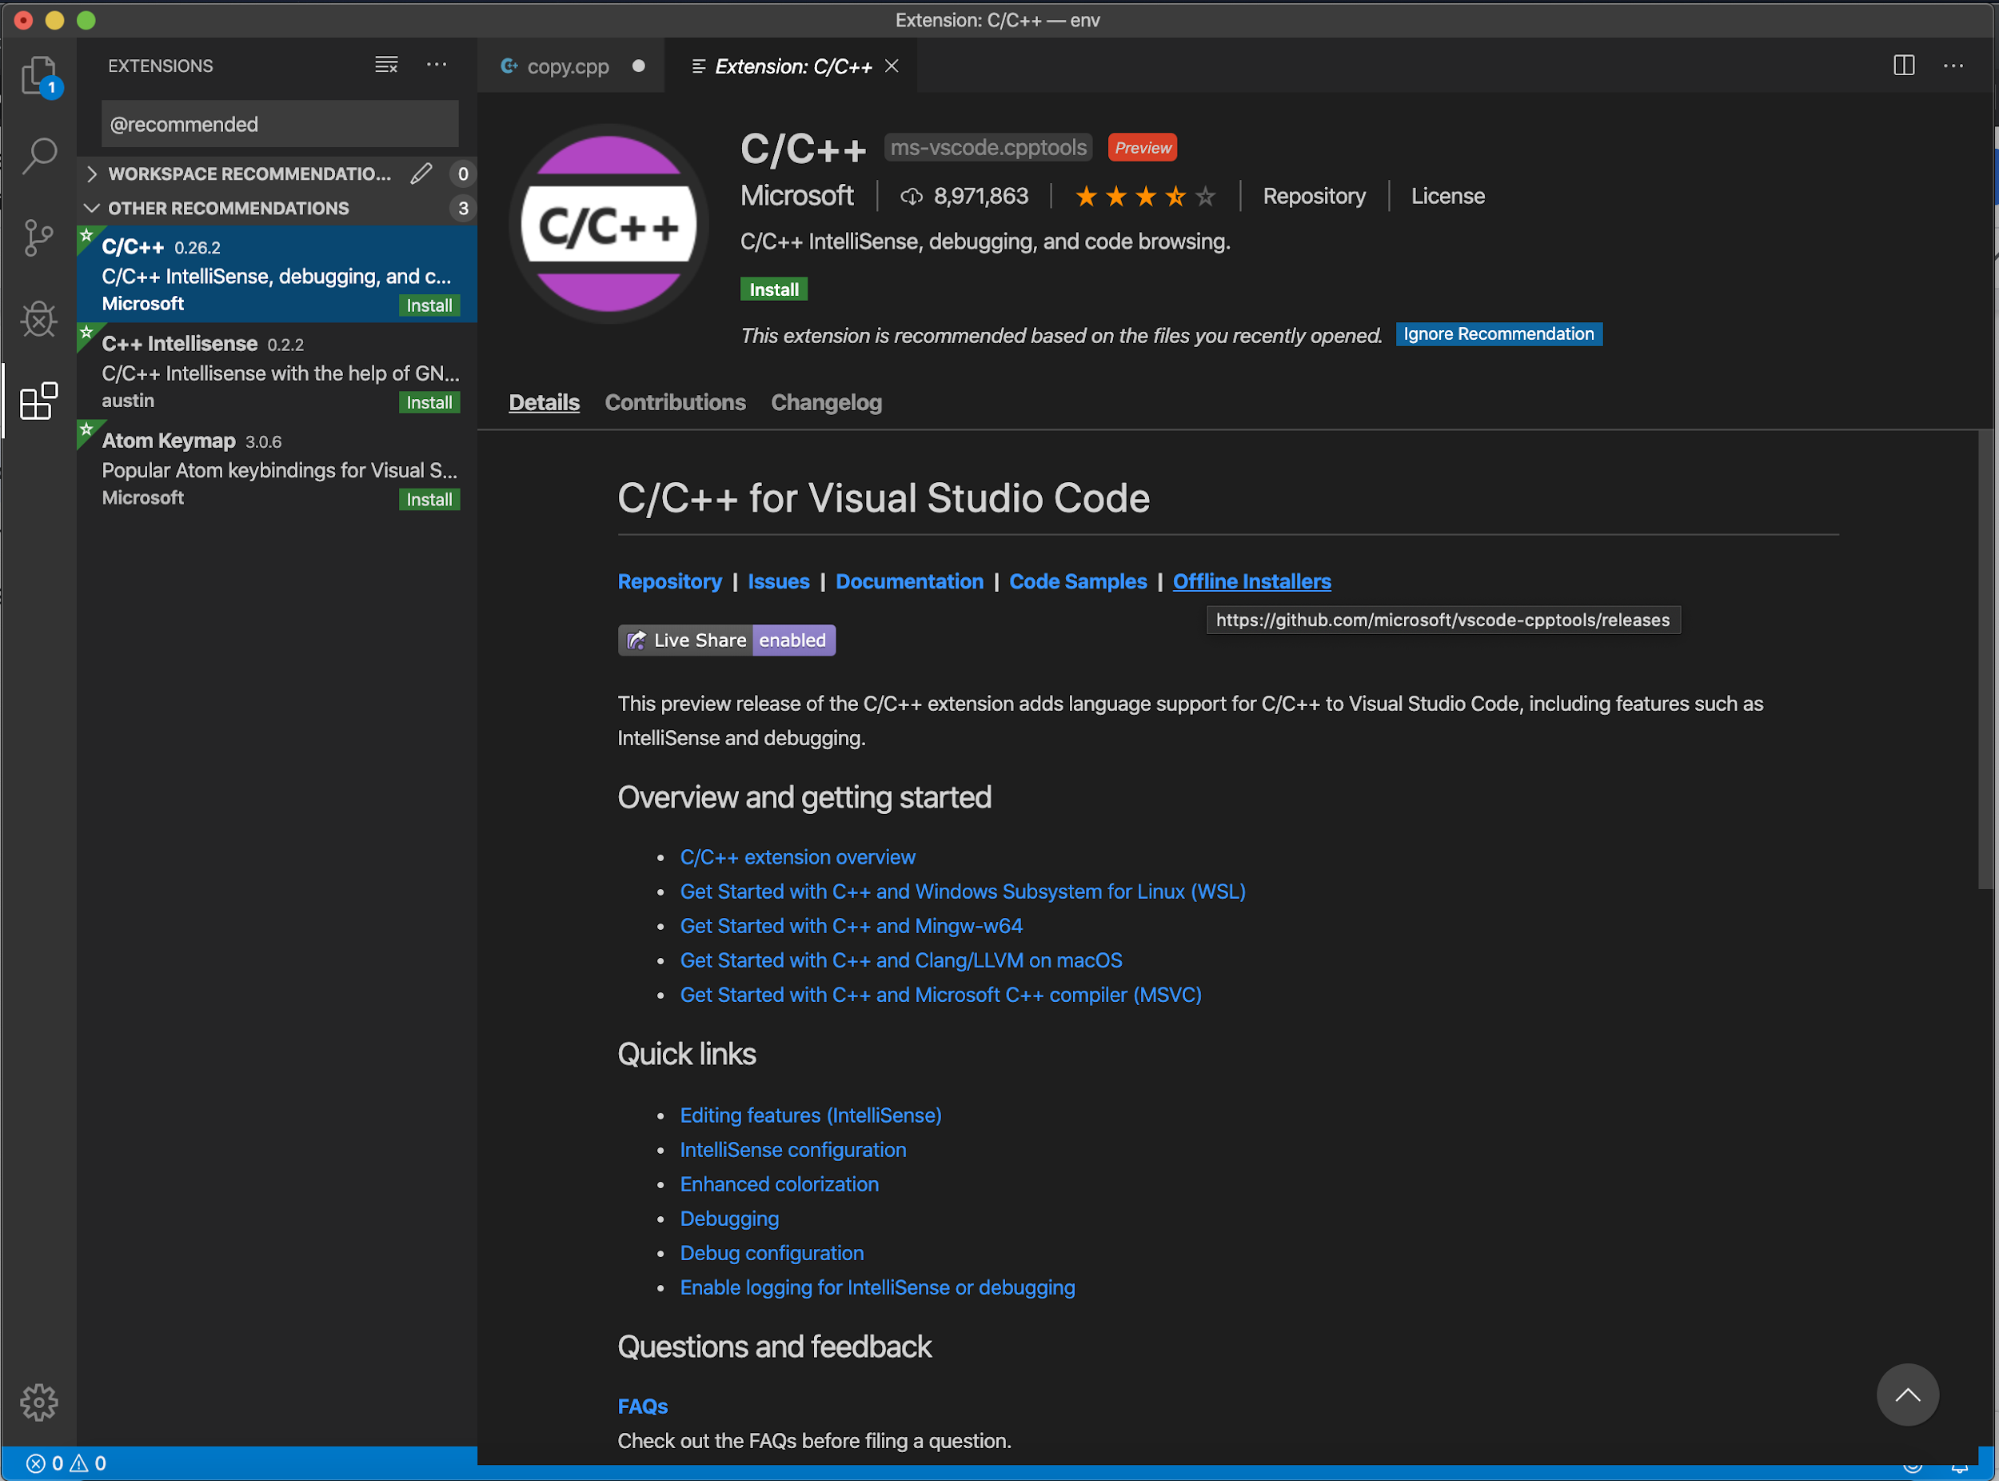
- Install C/C++ extension. In the toolbar on the left hand side of the screen click on the bottom icon for Extensions. Search for C/C++ and click install.
Step 2: Install g++
- Open a Terminal window.(One way is to press Command+Space, type Terminal in the search field, and press the Return key.)
- In the Terminal window type
g++and press the Return key. We will see an alert box like this: 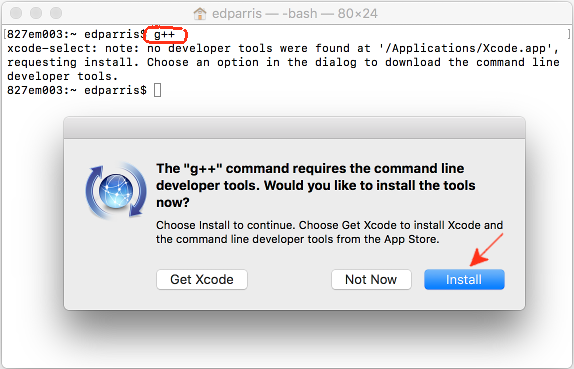
- Choose Install to get only the command line tools unless you want to learn Xcode.
- Xcode can be installed later from the App Store.
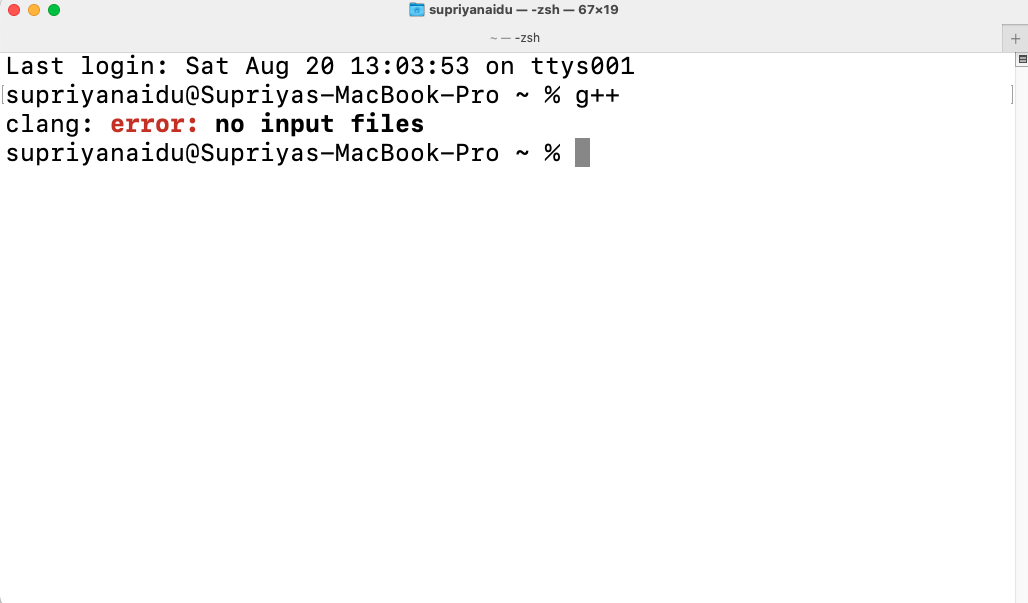
- After installation, type
g++in the Terminal, press the Return key, and verify the terminal prints the message, “no input files”. $ g++- see expected error
clang: error: no input files
- see expected error
Step 3: Check your work Hello World
Get the hello world program working. If you are reading this for recitation 1, you will need to follow directions from your TA to submit your work as proof that VSCode is working on your personal computer.
Step 4: Install XCode
Please install XCode on your computer now. This is done via the App Store. The download take a while. Having this ready and up to date prevents issues down the road.